I can’t believe it’s nearly March already, where has the time gone? I was very sick for practically the full month of January but finally feeling more myself and I have some February Stamp Camp projects to share. We used the So Sentimental stamp set and the Stitched So Sweetly dies for our projects this month and I could have created lots more fun things with these dies, they are somewhat addicting once you start combining layers!
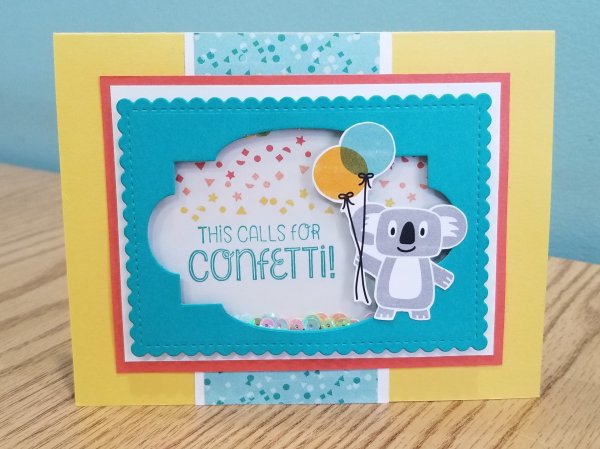
First up is a shaker card, see how the label shape in the center fits perfectly inside the scalloped rectangle? It was just the right size to add a window sheet, some adhesive strips, some sequins and back it with another window sheet to “sandwich in” the sequins…that’s my favorite way to put together shaker cards. It’s so fun to shake around, I can’t stop myself! And that little koala is so stinkin’ cute, I want to give him a hug.
Next we made a treat box with a magnetic flap that kind of matches the shaker card. Again, I love how the dies and punches layer together to make it look “extra” nice. I designed this project so I could get the most out of a sheet of Designer Series Paper, and it works great; uses a full sheet of 8.5 x 11 cardstock and the DSP is 4 x 4 and 1-3/4 x 4. I love it when I can get a lot of out a sheet without much waste. This cute little treat box holds more that you think, it’s quite roomy inside and can easily hold a Swiss Cake Roll, a bag of Skittles, and a package of Lick and Dip candies, along with a 3×3 card…I know this because I helped my godchild Amelia make a bunch of Valentine themed treat boxes for her classmates. She said the kids approved, yay!

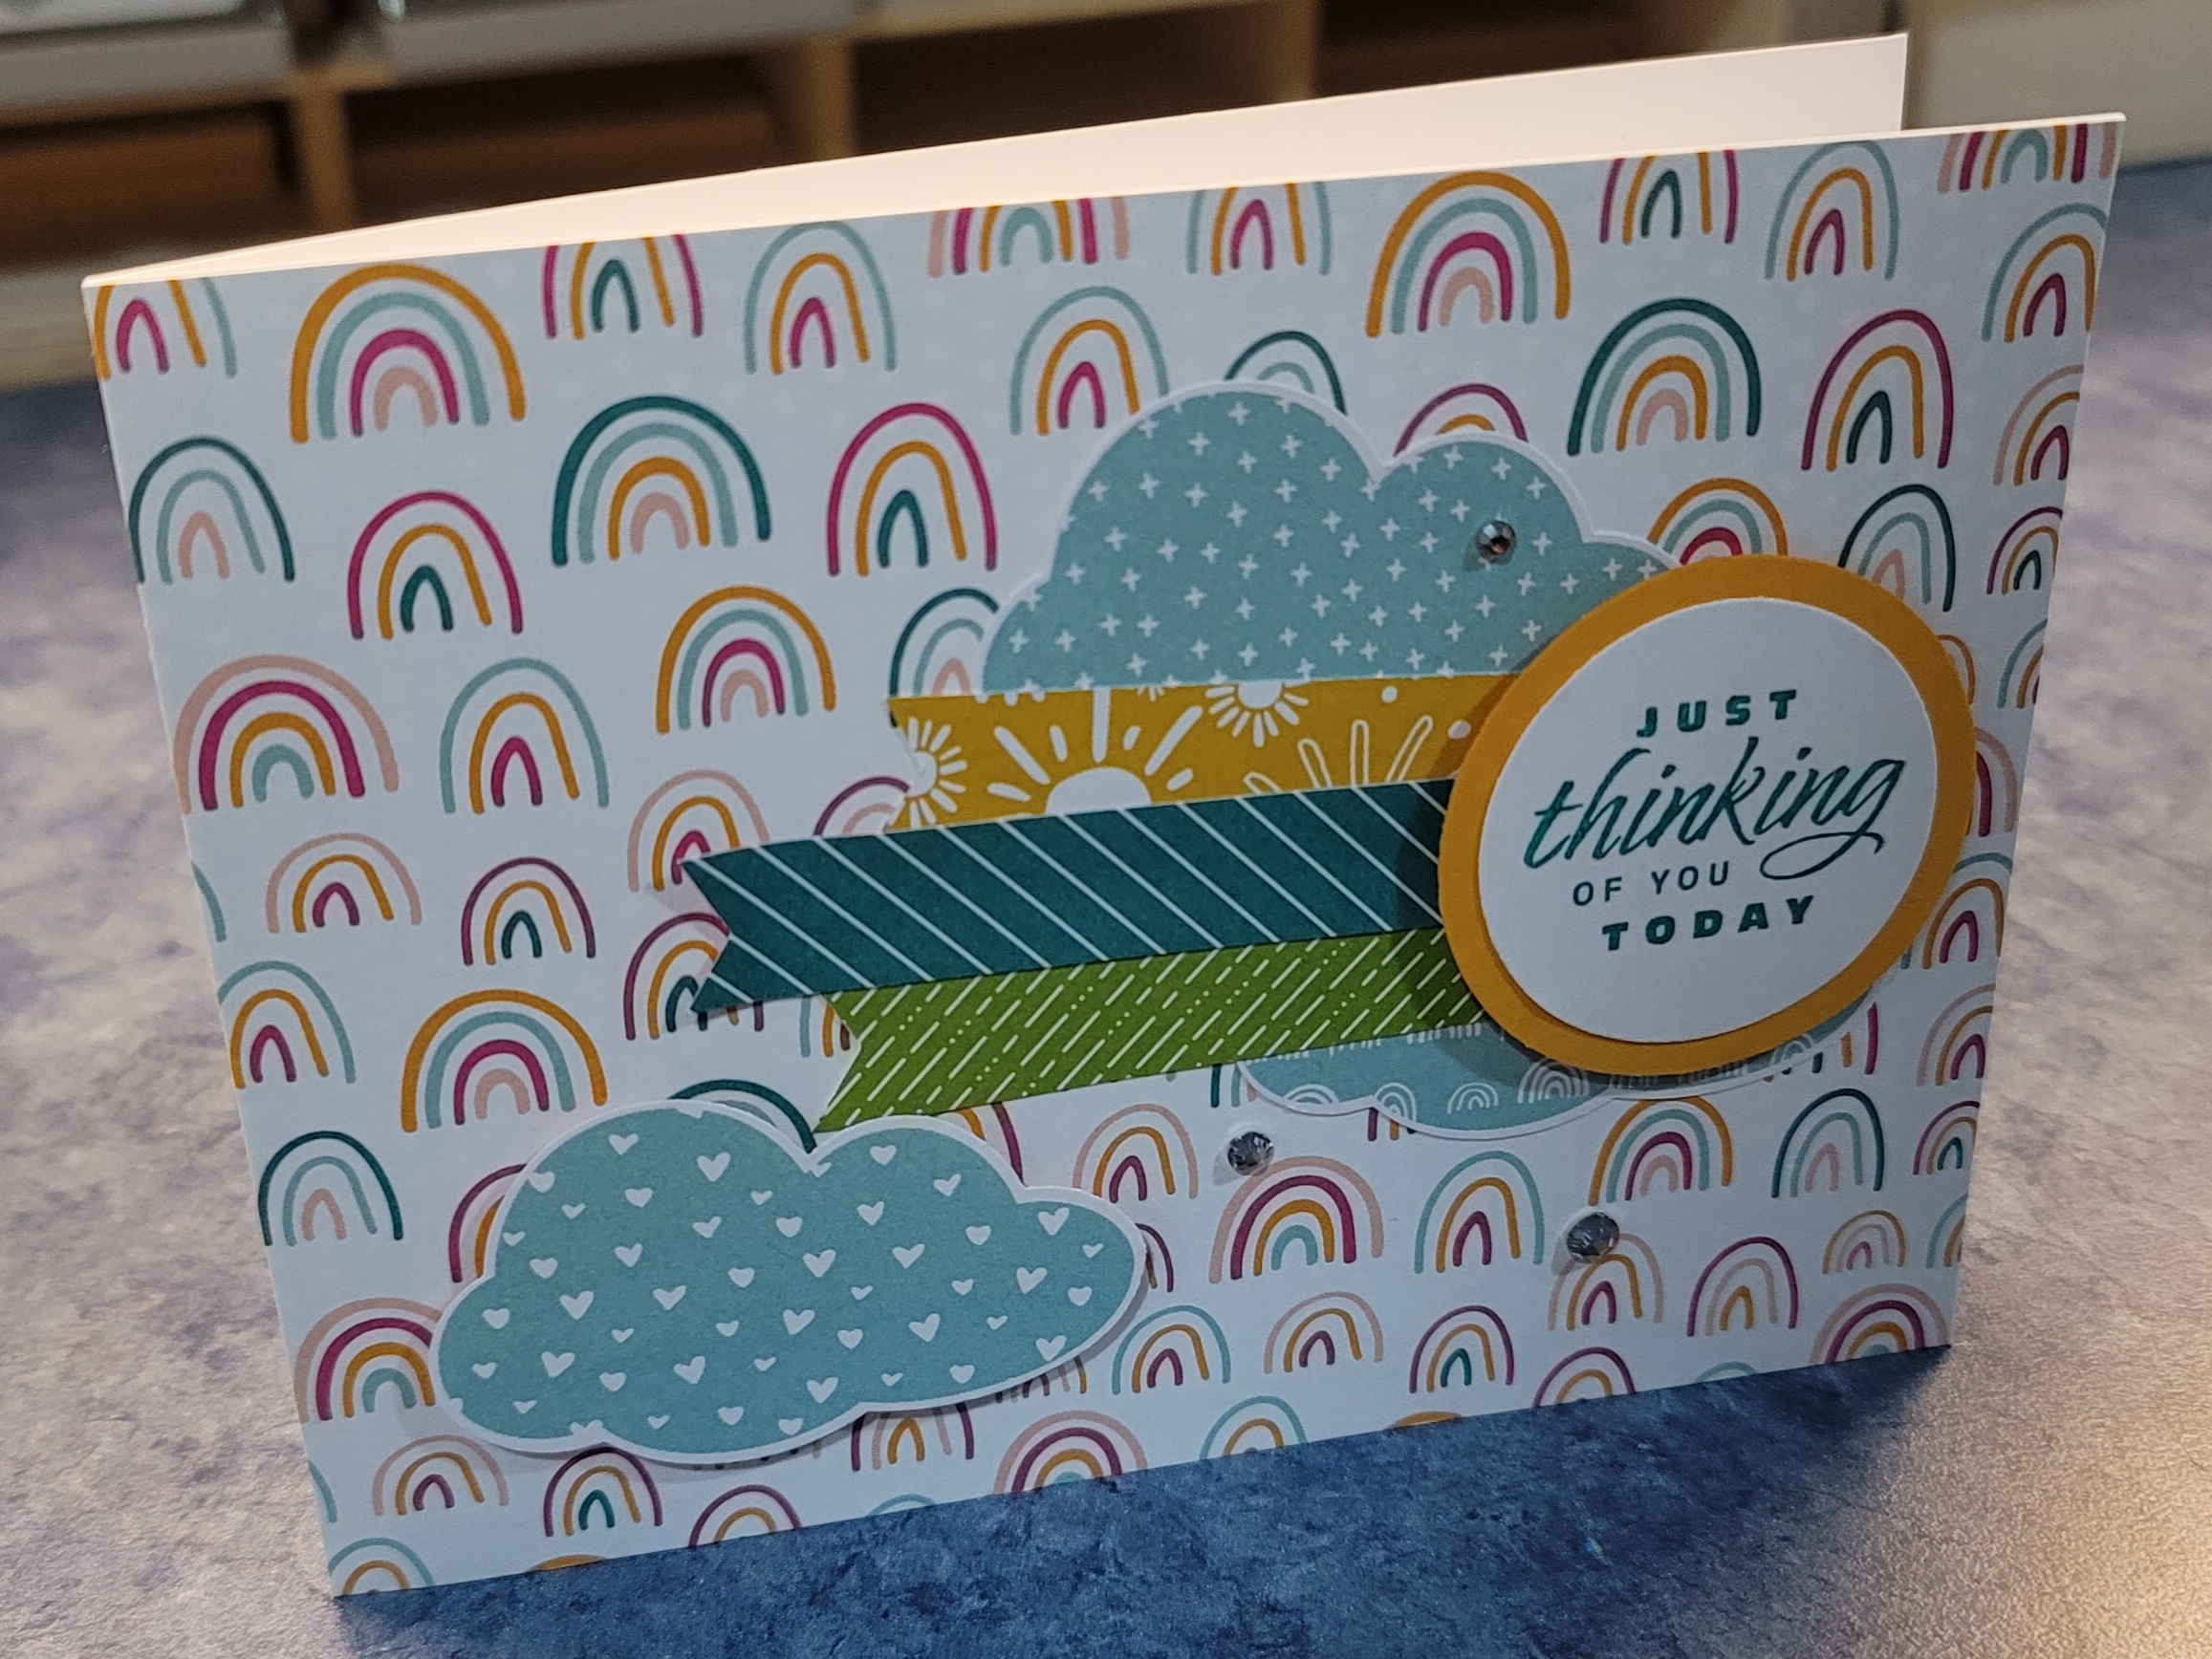
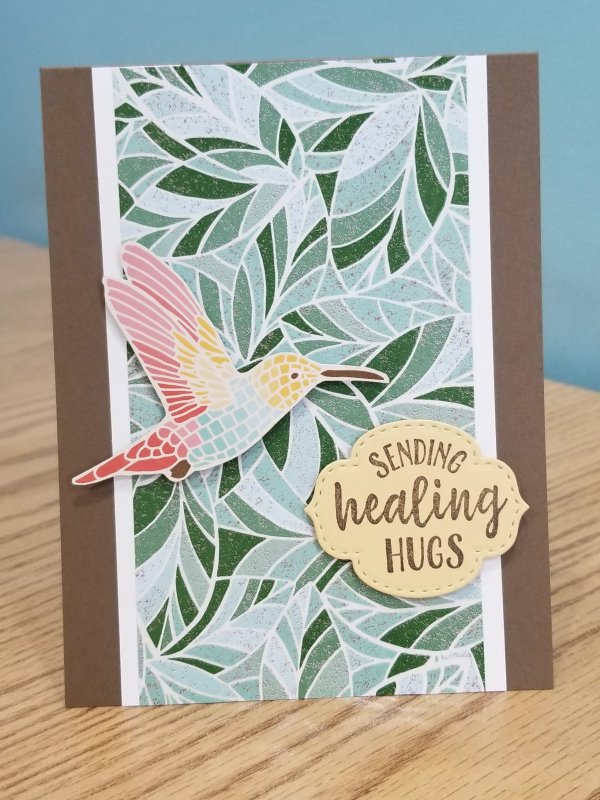
It’s been a rough year for illnesses around here, so Get Well cards don’t last long. Here’s a quick and easy one, and another chance to use the coordinating dies. I’m guilty of making mostly “ladylike” cards but I think this would work just fine for a man or woman.
Stampin Up offers so many great paper choices, and with the Pressed Petals Specialty Designer Series Paper we used on the criss cross cards below, we get every penny’s worth! This particular paper pack has 4 each of 6 designs, and the project uses a half sheet of paper, that means you could 24 of these gorgeous cards out of one single package. Score! Speaking of scoring, the measurements for this card are extra easy: 6 x 12 DSP, score at 4 and 8 on the long side, then score at 1/2″ along the bottom edge to create a tab in the center (cut off the bottom left/right tabs). We folded the front flaps inward or outward to create different looks. The card inside the pocket is just the right spot to write a note or stamp a sentiment.

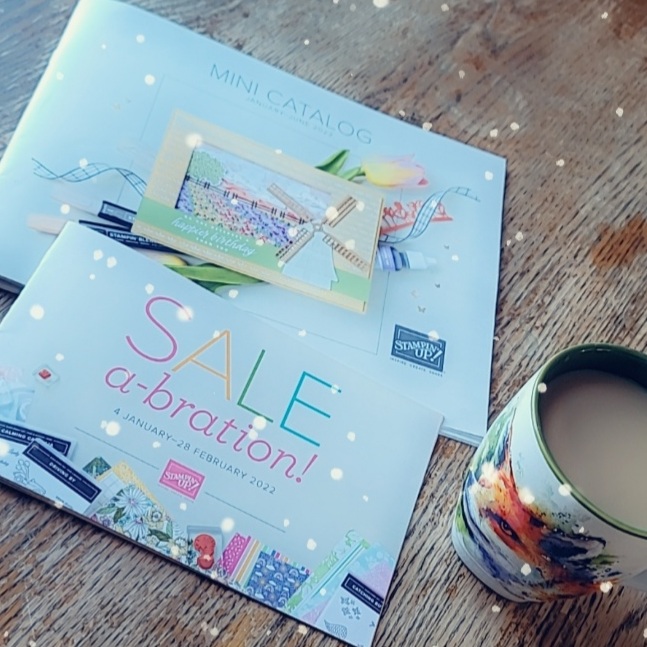
Last but not least is a card attached to a little gift box…perfect to hold a gift card, jewelry, or chocolate! The drawer slides into the box, and the card is attached to the top. Surprisingly easy to put together and it’s fun to give. We used the Lily Impressions DSP for this one, free with a $50 purchase during Sale-A-Bration till the end of March…the colors are so rich and the texture makes you want to touch the paper to see if it’s really paper or is it a painted canvas?!

I made a very quick and casual video tutorial on how to make the treat box with magnetic flap, I’ll include it in this post but no laughing at me…I’m new at videos! 😉
Treat Box with Magnetic Flap
Have a great day, see you next time!
Debbi